
Livoltek + Smart Home: 7 Smart Settings That Effortlessly Maximize Your Savings
Some people believe that to optimize your solar system and get the most out of your investment, you either have to keep an eye on the app all day or build a complex automation system using Home Assistant, with code and sensors that are difficult to synchronize and manage. The truth, however, is simpler and more enjoyable: the most valuable “automations” of a Livoltek system are already built into the MyLivoltek app. You just need to set them up once, and then the system runs on its own, around the clock, without you having to lift a finger.
To shed some light on this potential confusion, this article is for the prosumer who wants results, not headaches. We’ll show you 7 native setups, all of which can be done directly in MyLivoltek—no additional hardware required, no need to write a single line of code, and no risk of voiding your warranty. Plus, at the end, we’ll tell you what you can do if you’re passionate about smart homes and want to take it a step further.
First: What does “automatic” mean in a Livoltek system?
Livoltek inverters operate based on different operating modes. Once you’ve selected a mode and set a few parameters, the inverter makes its own decisions. It decides when to charge the battery, when to discharge it, when to draw power from the grid, or when to stop exporting power. It’s not “automation” in the sense of a robot pressing buttons, but rather built-in intelligence that runs 24/7.
The mode names vary slightly depending on the product line. On the Hyper and HP3 hybrid inverters and on AC-Coupled systems, the four modes are: Self-use, Self-define (also called Time-of-Use), Backup, and Off-grid. On the new HP1 S2 single-phase series, the same concepts appear under the names ECO Mode (equivalent to Self-use), Battery First, and TOU Mode (equivalent to Self-define). It’s helpful to know these names, because you’ll be searching for exactly these terms in the app.
One important thing to note: the Livoltek monitoring portal receives data from the inverter every 5 minutes. So you see the system’s performance in near real time, but not second by second. For the configurations below, this is more than enough.
1. Store cheap energy; use it during peak hours (Self-define / Time-of-Use)
This is the main configuration for anyone with time-of-use pricing. In Self-define (TOU) mode, you can program up to 6 distinct time intervals, specifying for each one whether the battery charges or discharges, at what power level, and up to what battery level.
Real-world example: You set the battery to charge between 2:00 a.m. and 5:00 a.m., when electricity is cheap, at a power of 2 kW, and to stop automatically when it reaches a certain level. During the day, excess solar power tops off the battery. In the evening, during peak pricing, the battery discharges. It can discharge both to your home and to the grid. Outside the set time intervals, the inverter automatically reverts to Self-use mode.
The result: you buy energy when it’s cheap and use it when it’s expensive, without having to do a thing. You configure it once, and from then on, it runs indefinitely.
2. Automatically Maximize Solar Self-Consumption (Self-use / ECO Mode)
If you don’t have a tiered rate plan and simply want to use as much of your solar energy as possible, Self-use mode (ECO on the HP1 S2) is the way to go. It’s also the system’s default mode.
In this mode, the logic is simple and automatic: solar energy first powers the home’s loads, the surplus charges the battery, and whatever remains (if you allow it) is exported to the grid. In the evening, when the panels are no longer producing, the battery takes over powering the home. The grid only kicks in when the battery drops below the set protection threshold.
Essentially, the system automatically “prioritizes” your own energy for consumption and minimizes the amount drawn from the grid. No action is required on your part.
3. Stop exporting to the grid with a single setting (Feed-in Limitation / Zero-export)
Many prosumers face a specific problem: the smart meter trips when surplus energy is fed into the grid, or they simply don’t want to sell energy to the grid at a low price. The solution is built right into MyLivoltek.
In the advanced settings, under the Feed-in Limitation section, first select the control method (CT or Smart Meter), then set the export limit. You can set it to 0W to completely stop feeding power into the grid—this is the “zero-export” configuration. This can be done either remotely (online, via the app) or locally via Bluetooth (using the advanced settings password).
A note of technical transparency from the Livoltek documentation: even with zero-export enabled, a small amount of energy may inevitably end up in the grid due to unpredictable fluctuations in solar production and consumption. This is a physical limitation, not a defect.
4. Battery Reserve for Power Outages (Backup Mode + Reserve SoC)
If you live in an area with an unstable grid, you’ll want the battery to never fully discharge, but to always maintain a reserve for when the grid power goes out.
In Backup Mode, you set a parameter called “Reserve SoC for backup” (default 50%). The battery discharges normally as long as it remains above this threshold, but never drops below it while the grid is active. This way, when a power outage occurs, you always have a guaranteed energy reserve for critical loads.
And when the grid actually goes down, the switch to battery power (the EPS function) is handled by an ATS (Automatic Transfer Switch). Thus, input I is connected to the grid, input II to the backup/EPS port, and the output is connected to the loads.
5. Protects Battery Life (Discharge Cut-off SoC)
Repeatedly discharging a battery to its full capacity shortens its lifespan. The Livoltek system allows you to set a minimum discharge threshold (discharge cut-off SoC) below which the battery will not drop.
Once set, the inverter automatically adheres to this limit. When the battery reaches the minimum threshold, discharge stops, and power is restored from the grid or solar panels. The battery resumes discharge only after it has recharged to the set threshold plus 10% (a hysteresis that prevents short, frequent cycles, which are harmful to the cells).
It’s a one-time setup that protects your investment throughout its entire lifespan—especially relevant for Livoltek LiFePO4 batteries, designed for over 6,000 cycles, which you’ll want to maximize.
6. Automatically controls a generator based on battery level (SOC-Controlled Generator)
If you have a backup generator connected (especially relevant for cabins or locations with unreliable grid power), you don’t have to start it manually. The Livoltek system offers the SOC-Controlled option: you set a battery level range, and the inverter automatically starts and stops the generator based on how charged the battery is.
When the battery drops below the set minimum threshold, the generator starts on its own and recharges it. When it reaches the upper threshold, the generator shuts off. Without you being there, without pressing a single button. It’s true, native automation for a scenario where manual intervention would otherwise be a hassle.
7. Monitor self-consumption and efficiency (Self-use ratio + reports)
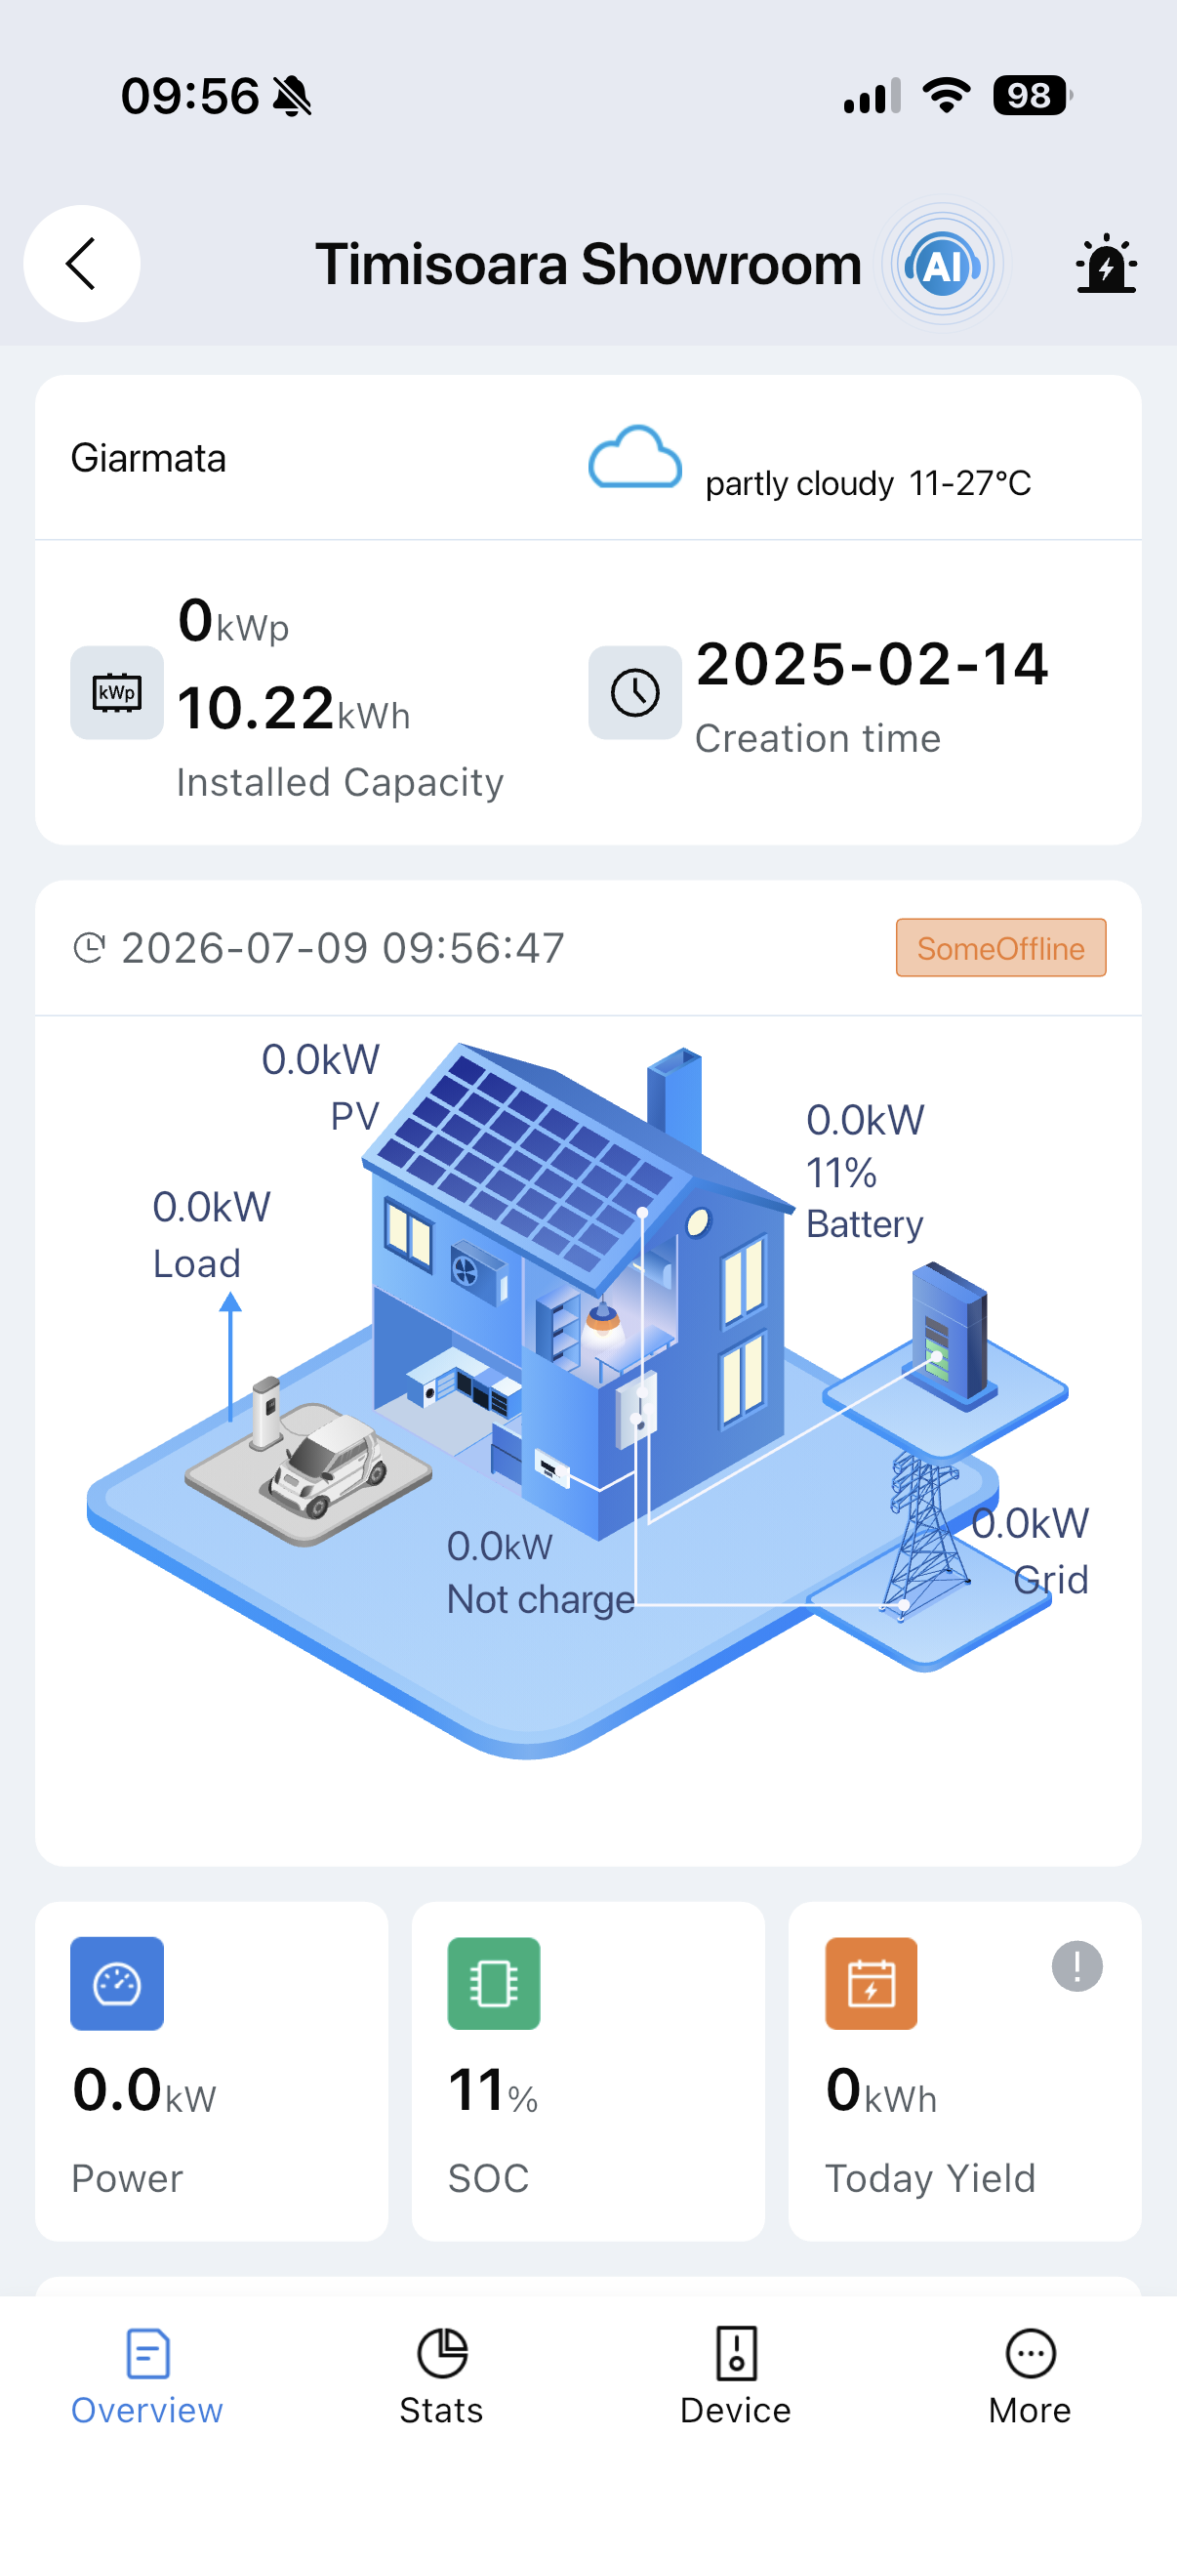
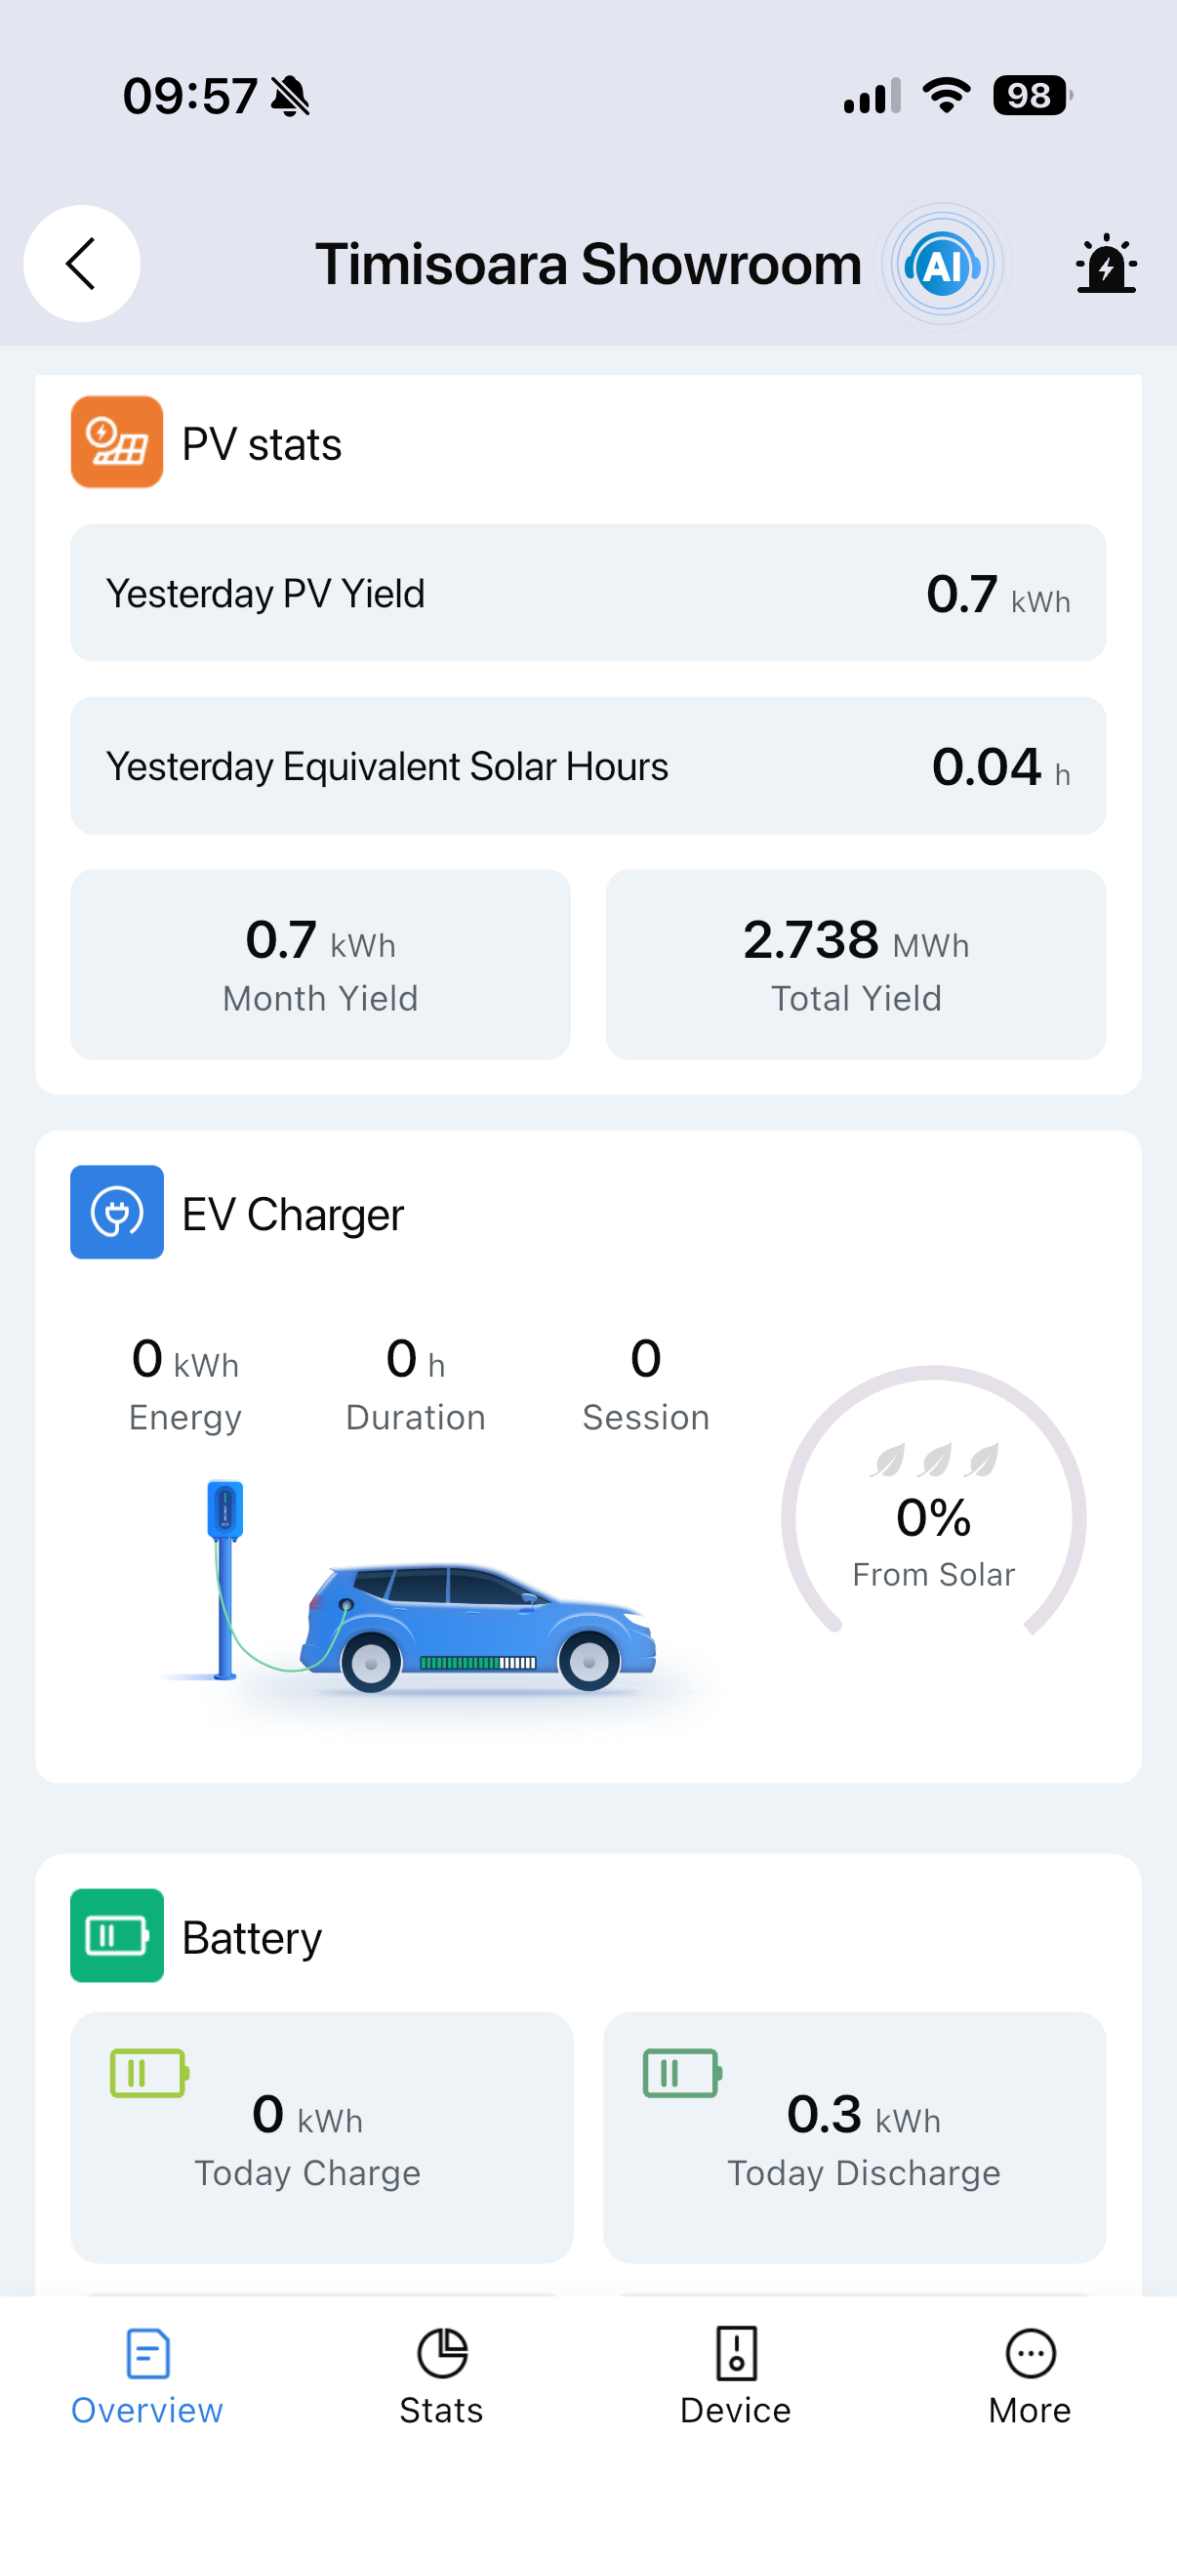
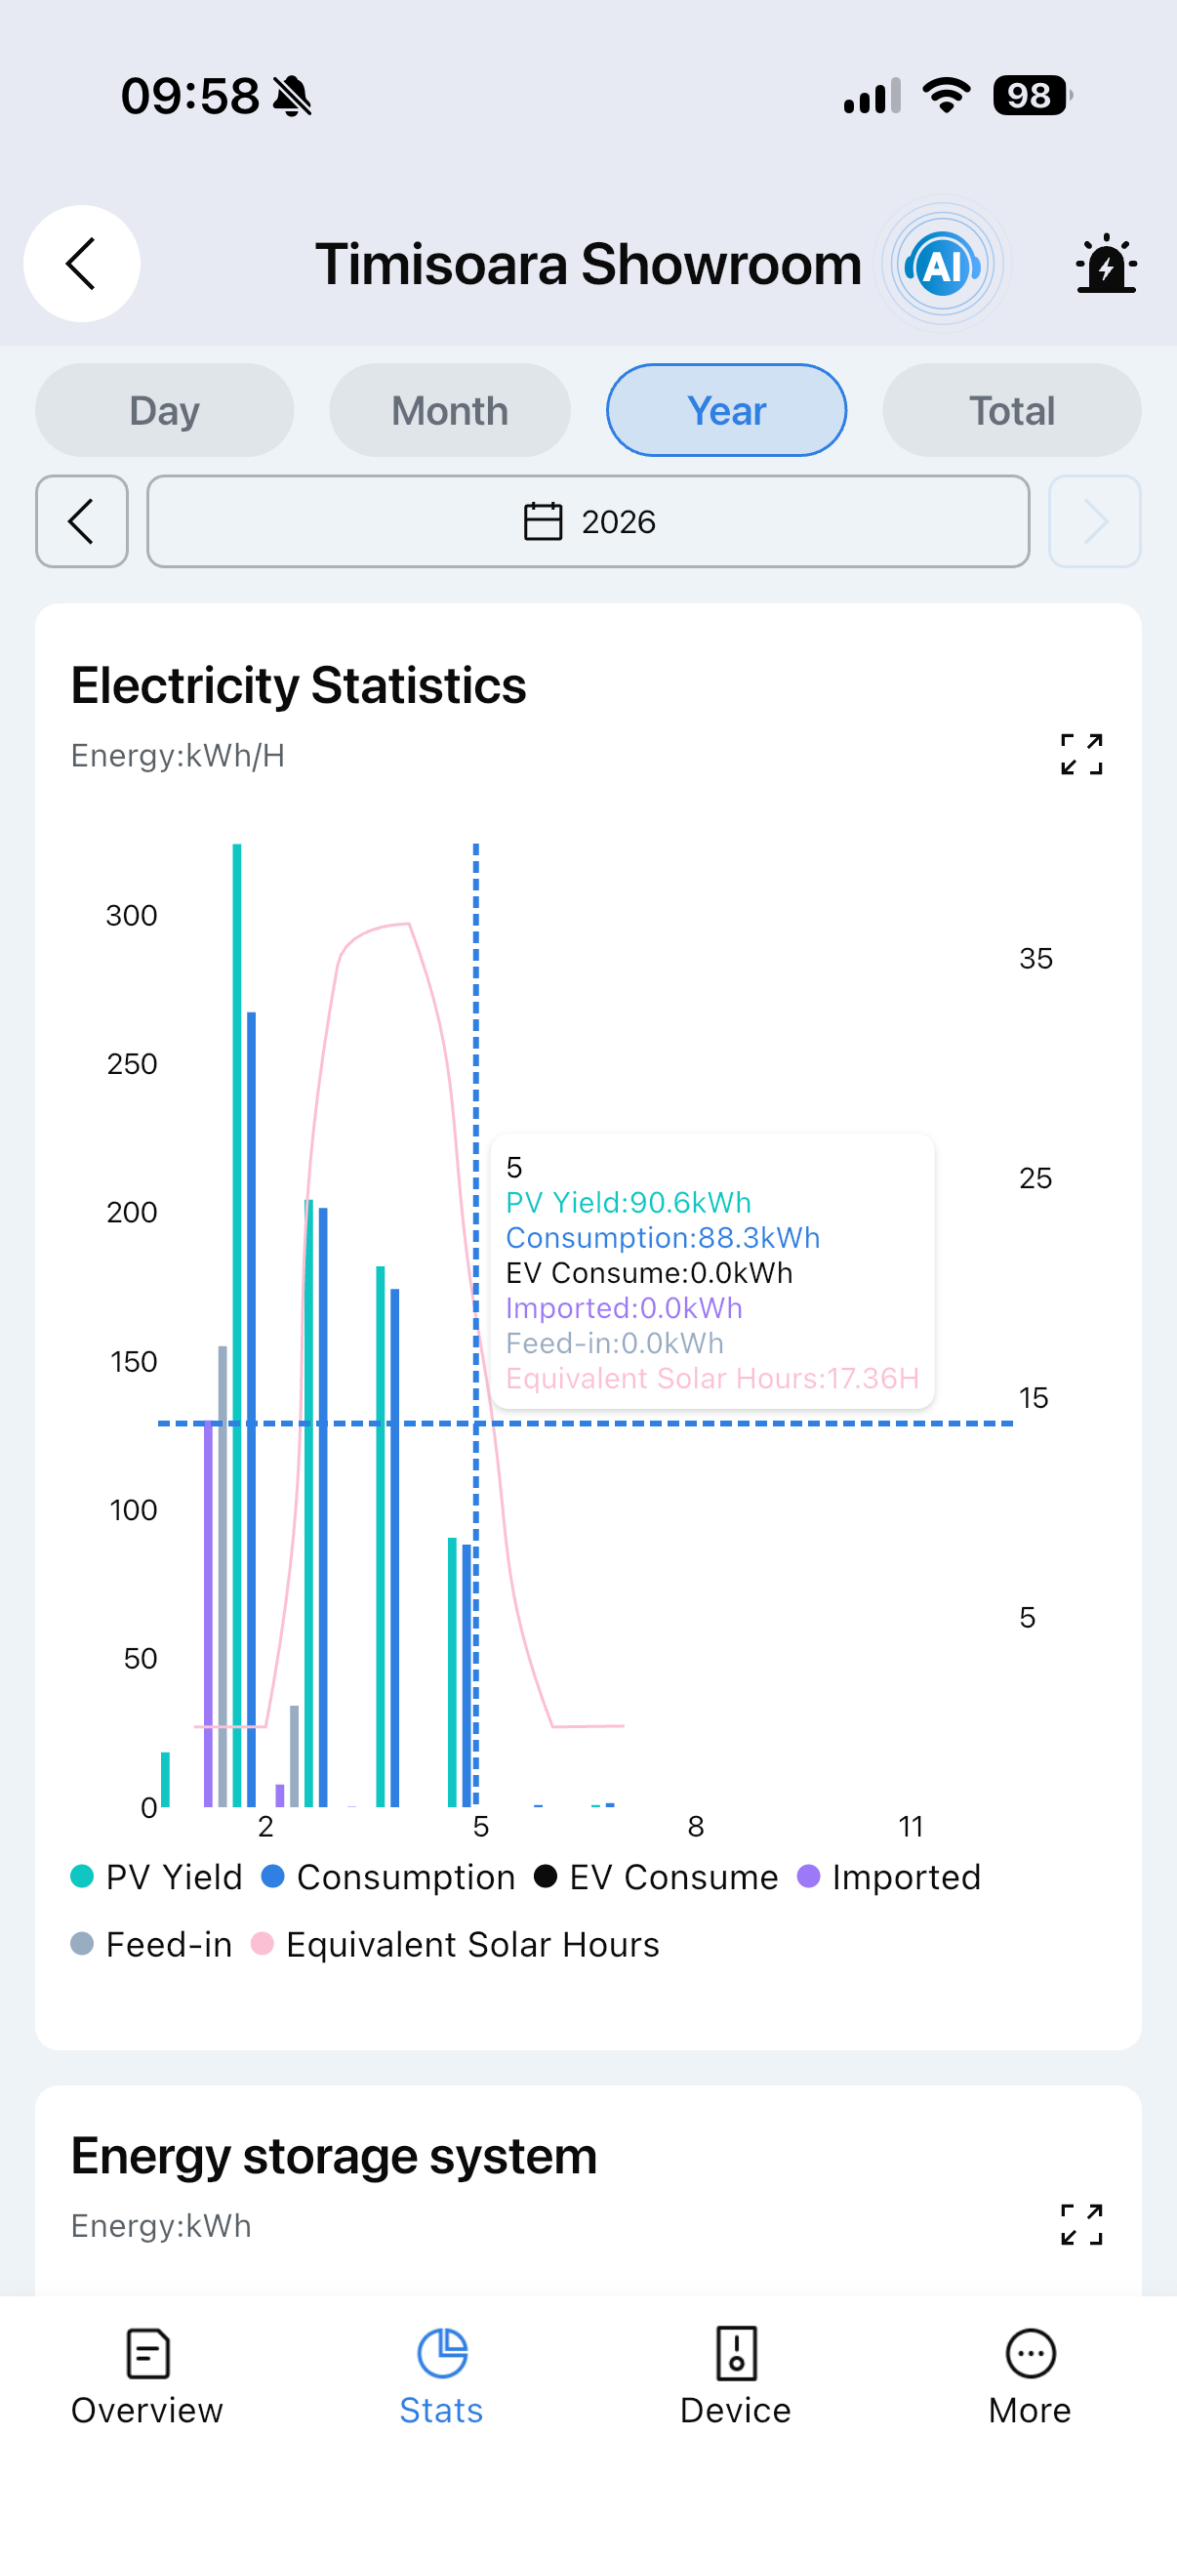
The seventh configuration isn’t about control, but about feedback. And it’s just as valuable. The MyLivoltek app natively shows you, for each system: daily and total efficiency, real-time power output, and daily and total revenue. In addition, perhaps the most useful indicator is the self-use ratio. This ratio tells you what percentage of the energy produced you actually consume, versus how much is lost to the grid. It’s the compass that tells you whether your settings are working. A rising self-use ratio means your system is well-tuned. If it drops suddenly, it’s a sign that something needs to be checked.
The power flow page shows you in real time how energy flows between the panels, the battery, the grid, and the loads—a visual map that lets you instantly understand what the system is doing at that moment.
What Isn’t Supported Natively (and What You Need for That)
To be completely honest: not every automation a smart home enthusiast dreams of can be achieved using just MyLivoltek.
For example, “automatically start the washing machine when the battery charge exceeds 80%” or “selectively turn off certain outlets during a power outage” aren’t native functions of the inverter—they control appliances, not the power system. For scenarios like these, you’ll need a smart home platform (such as Home Assistant) plus third-party hardware: smart plugs, controllable relays, and sensors.
Similarly, an “automatic weekly report sent via email” or the integration of Livoltek data into a custom dashboard requires access to system data through an external channel. Here, it’s important to note a warranty-related issue: Livoltek specifies in its official documentation that monitoring and control systems built without the manufacturer’s authorization—or those that obtain the communication protocol through unofficial channels—are not covered by the warranty. There are DIY integrations in the international community (via local Modbus on the dongle port or via the cloud API) developed by enthusiasts. They work for some, but they are experimental, sometimes unstable, and place you in a gray area regarding the warranty.
Our recommendation is pragmatic: to optimize the energy system itself—that is, everything related to charging, discharging, exporting, backup, and battery protection—use the native settings in MyLivoltek. They are official, stable, free, and covered by warranty. To automate the appliances connected to the system, use a separate smart home platform that controls the outlets and loads, letting the inverter do its job.
Conclusion: The intelligence is already there
The most valuable thing about a Livoltek system isn’t that you can build complex automations on top of it, but that you don’t really need to. The seven settings above (scheduling by time intervals, maximizing self-consumption, export control, backup reserve, battery protection, generator control, and self-consumption monitoring) cover practically everything that matters for cost-effectiveness and reliability. And they’re all set up once, through the app, then run on their own.
A well-configured system is one you can forget about—in the best possible way. It generates, stores, saves, and protects itself, while you go about your life.
If you’d like help with the optimal configuration for your consumption profile, a Livoltek-certified partner can set the parameters for you during installation or remotely. You can find them at https://hexing.ro/distribution-network/, and details about the range of inverters and batteries at https://hexing.ro/our-products/.